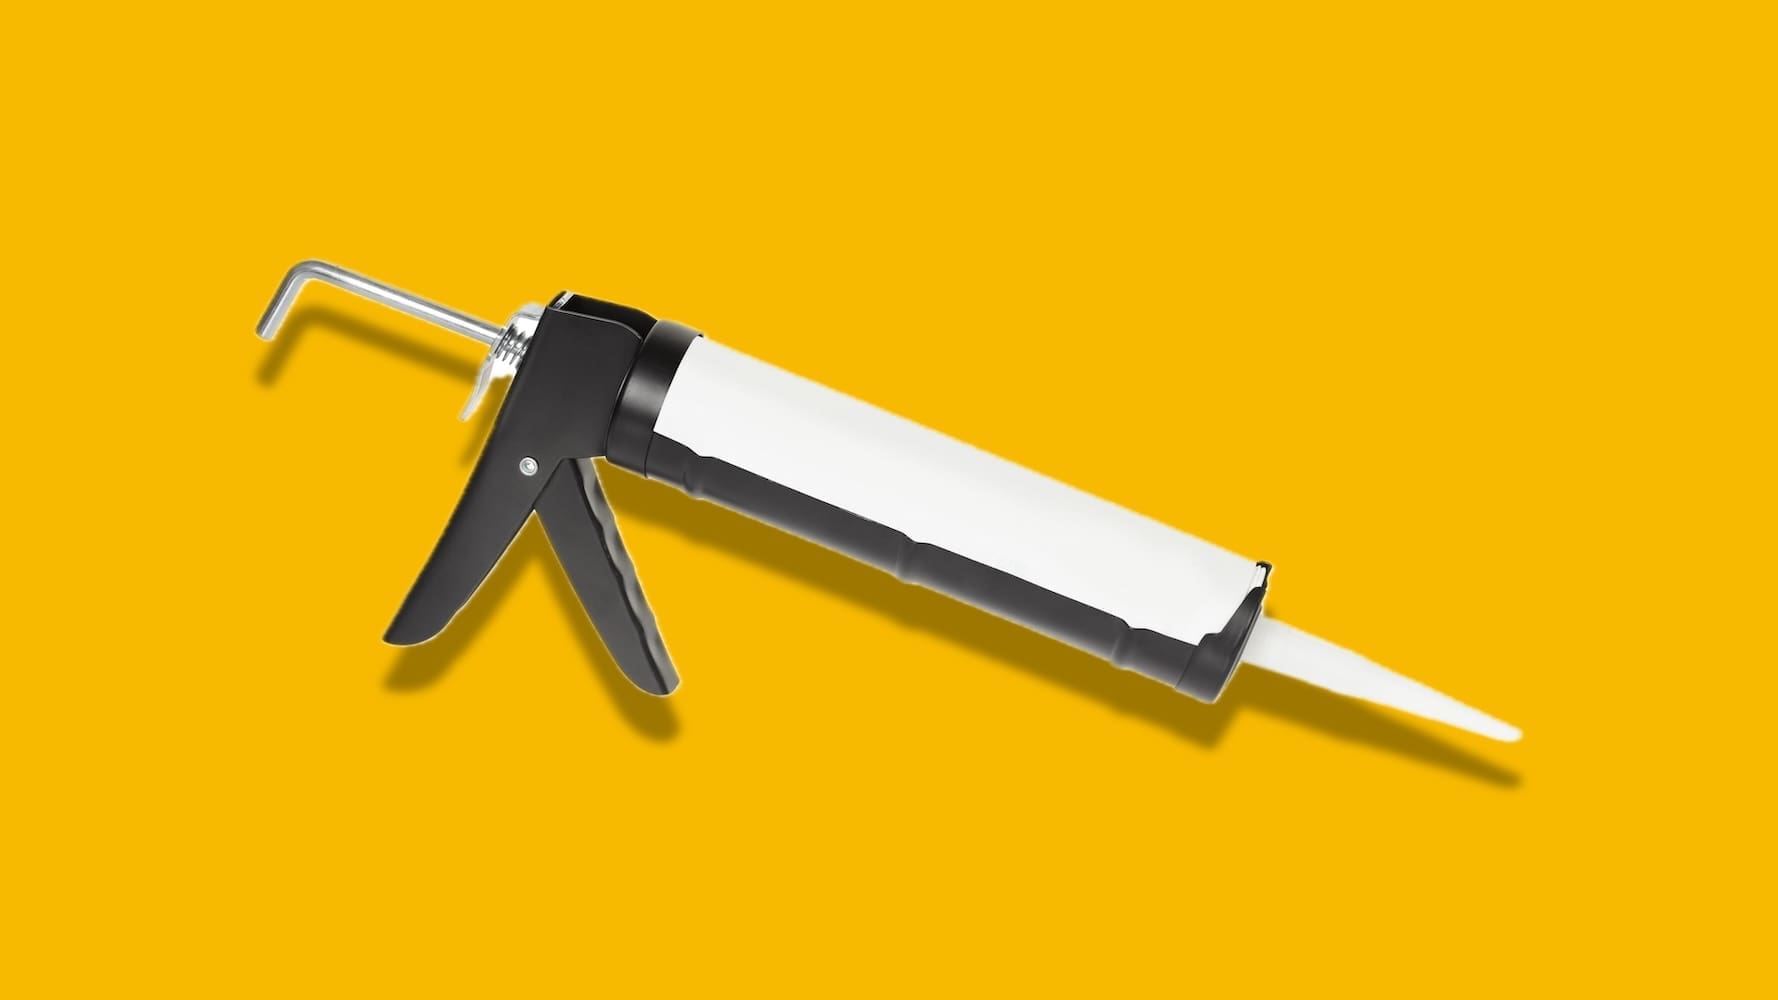
RV Caulking Guide
Learn how to properly caulk your RV to prevent water damage and maintain its integrity. This comprehensive guide covers tips, techniques, and the best products for sealing your RV’s joints, seams, and more.
Doctor’s Orders
An ounce of prevention is worth more than a pound of cure. Half an hour with a caulking gun in the spring is the cheapest maintenance you will ever do on an RV.
Your RV’s Worst Enemy
Water. Nothing else takes as much off the resale value or costs as much to put right once it has got into the walls.
Do the Job Right
Caulking is what keeps your RV’s structure sound. Done properly it is invisible; done badly it fails quietly, which is worse.
Why Caulking is Important for Your RV
Caulk is the primary defence against leaks, sealing every joint and seam. It deteriorates from weather exposure over time, so regular inspection and maintenance is what actually prevents water getting in.
Choosing the Best Caulk for RVs
There are three main options. Silicone is flexible but not always paintable. Polyurethane is durable and paintable. Butyl rubber is flexible and ideal for roofs and windows. Pick a product compatible with the surface and rated for the weather you get.
Step-by-Step Guide to Caulking Your RV
Inspect for damaged caulk. Remove the old material carefully. Clean thoroughly with an RV-specific cleaner. Apply the new caulk holding the gun at about 45 degrees. Smooth the bead so it adheres. Then leave it alone — typically 24 hours — to cure.
Tips for Best Practices in RV Caulking
Work in dry, warm weather and avoid temperature extremes. Inspect your caulking twice a year, in spring and fall. Buy the better product; it lasts longer and you do the job less often.
Specific Areas to Caulk on an RV
Roof seams and vents first, then window perimeters, then every exterior seam around doors and storage compartments.
Conclusion
With the right tools, the right products and a bit of patience, caulking an RV is a manageable job — and it is what keeps the rig leak-free for the trips ahead.